Imagine having your own private AI assistant that runs entirely on your hardware—no internet required, no data sent to the cloud, and complete control over what it can and cannot do. That’s exactly what building a local AI server gives you. In this comprehensive guide, you’ll learn how to set up your own local AI server using Ollama, Open WebUI, and Stable Diffusion, creating a powerful, private AI ecosystem right in your home.
Whether you want to help your kids with homework safely, experiment with AI without privacy concerns, or just have the fastest AI experience possible, this guide will walk you through every step.
Why Build a Local AI Server?
Running AI models locally offers unprecedented advantages over cloud-based solutions:
- Complete Privacy: Your conversations and data never leave your network
- Lightning Fast: No internet latency means instant responses
- Full Control: Customize models, set restrictions, and whitelist features
- No Subscription Fees: Once built, it’s yours forever
- Offline Capability: Works without an internet connection
Perfect for parents who want AI assistance for their children’s education without the risks of unrestricted internet AI, or for professionals handling sensitive data who need AI capabilities without compromising security.
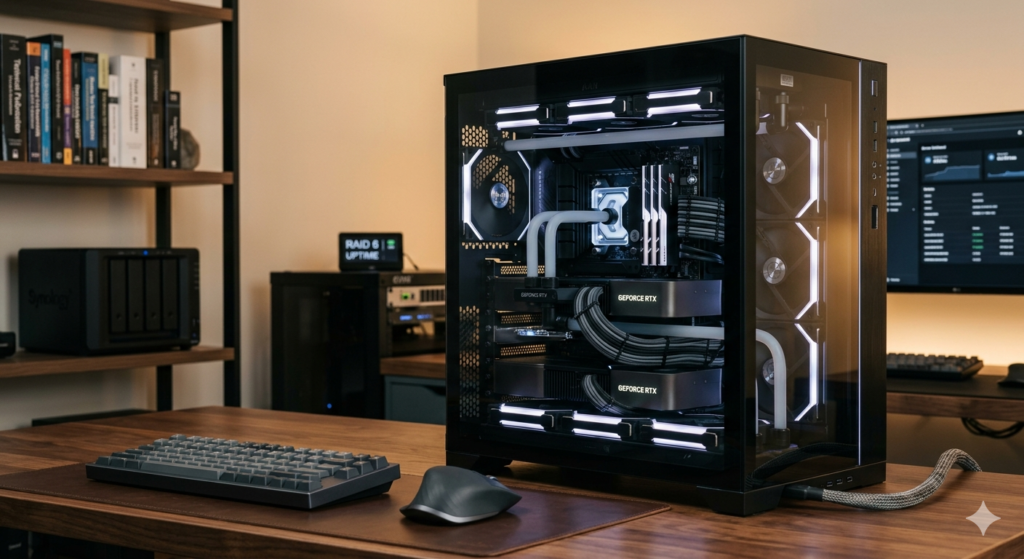
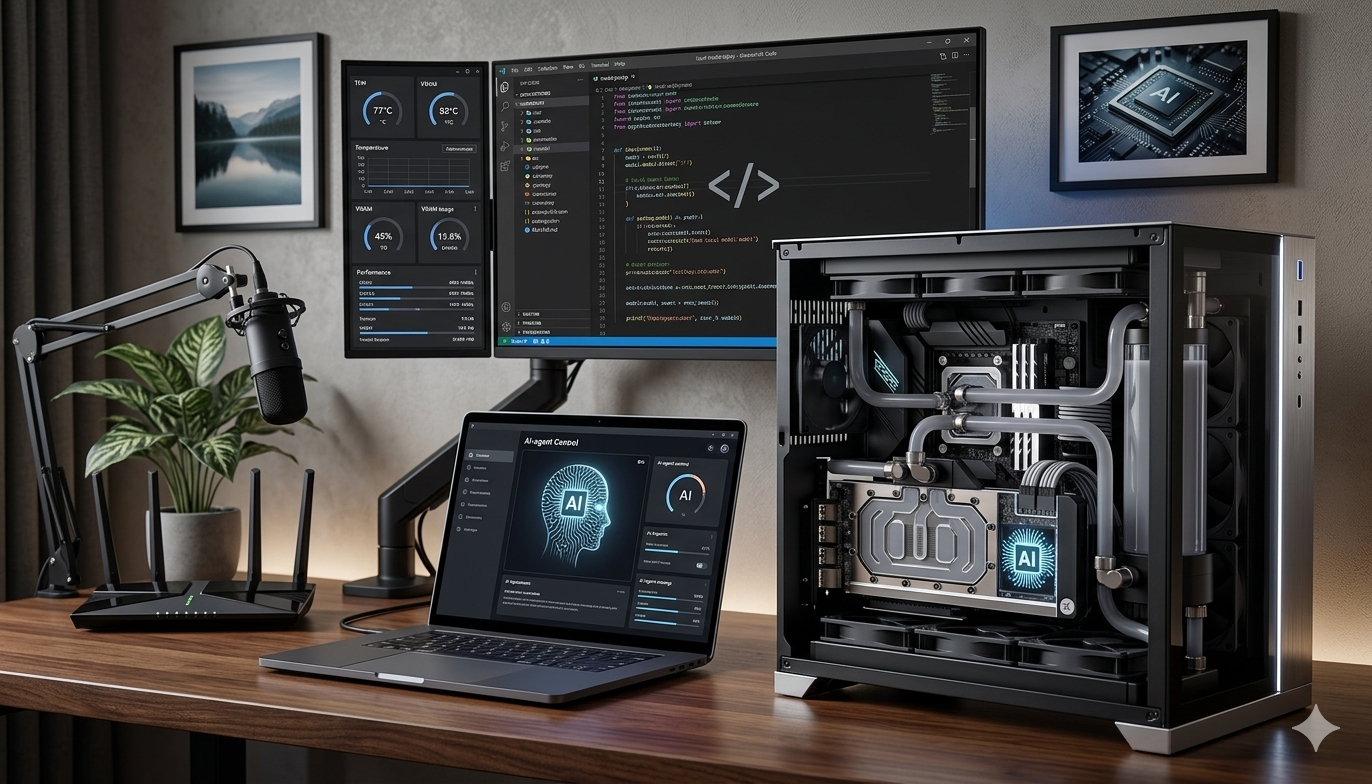
Hardware Requirements: Building “Terry”
While you don’t need enterprise-grade equipment to get started, more powerful hardware delivers better performance. Here’s what a high-end local AI server build looks like:
High-Performance Build Specifications:
- Case: Lian Li O11 Dynamic EVO XL (Full Tower EATX)
- Motherboard: ASUS X670E Creator ProArt
- CPU: AMD Ryzen 9 7950X (4.2 GHz, 16 cores)
- RAM: 128GB G.Skill Trident Z5 Neo DDR5-6000
- GPU: Dual NVIDIA RTX 4090 (24GB VRAM each, liquid-cooled)
- Storage: Dual Samsung 990 Pro 2TB NVMe SSDs
- Power Supply: Corsair AX1600i (1600W)
- Cooling: Lian Li AIO Water Cooler
Minimum Requirements:
Don’t have thousands to spend? You can start with:
- Any modern computer (Windows, Mac, or Linux)
- 8GB+ RAM (16GB recommended)
- Any GPU helps, but isn’t strictly required
- Even a laptop can run basic models
The key takeaway: The computer you’re using right now can probably run a local AI server.

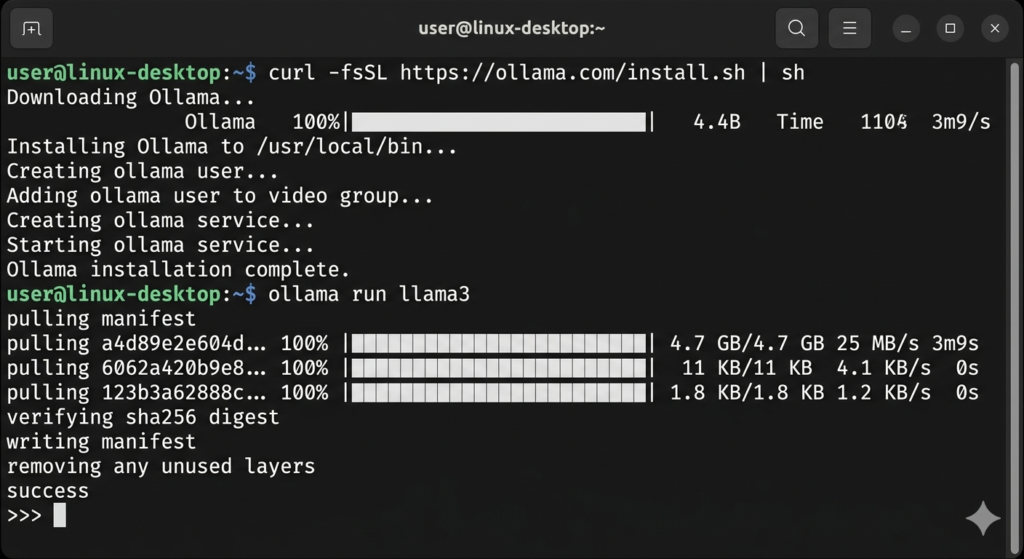
Step 1: Installing Ollama – The Foundation
Ollama is the backbone of your local AI server, providing the engine that runs AI models locally. Here’s how to get it running:
For Windows Users (Using WSL):
- Install Windows Subsystem for Linux: Open PowerShell or Terminal and run:1Follow the prompts to set up your username and password. You may need to reboot.
- Update Your System:bash12
- Install Ollama:bash1
For Mac Users:
Simply download Ollama from ollama.ai and run the installer. It’s that easy.
For Linux Users:
Run the same curl command as Windows WSL users above.
Verify Installation:
Open your browser and navigate to http://localhost:11434. If you see a message confirming Ollama is running, you’re ready to proceed.
Download Your First Model:
bash1
Test it out:
bash1
Try asking: “Tell me about the solar eclipse”
Pro Tip: If you have an NVIDIA GPU, Ollama will automatically detect and utilize it for dramatically faster performance.
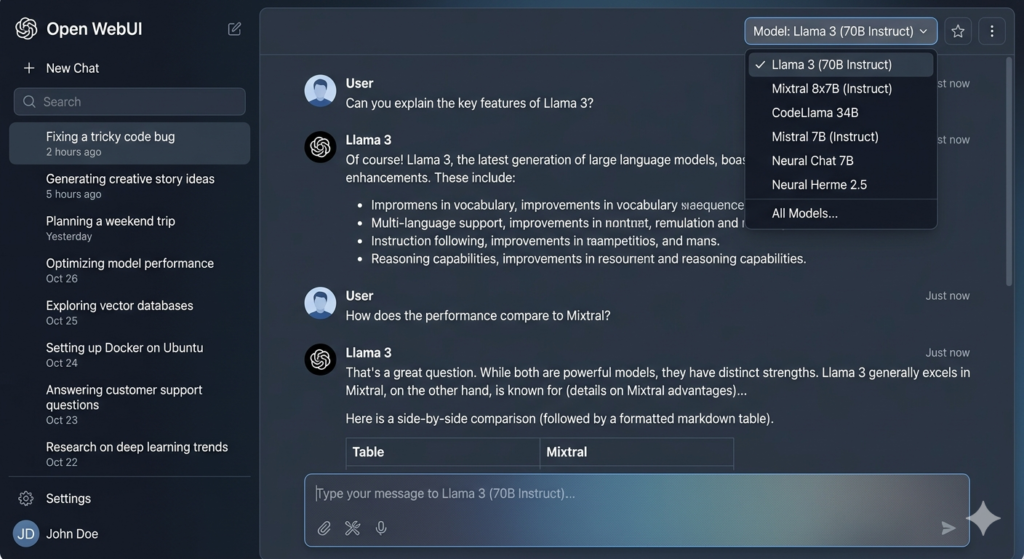
Step 2: Setting Up Open WebUI – Your Beautiful Chat Interface
While Ollama provides the backend, Open WebUI gives you a stunning, feature-rich chat interface that rivals ChatGPT.
Install Docker First:
bash123456789
Deploy Open WebUI:
bash1
Access Your Interface:
Navigate to http://localhost:8080 in your browser.
Create your admin account (the first account automatically becomes admin).
Key Features of Open WebUI:
- Multi-Model Conversations: Chat with multiple AI models simultaneously
- File Upload Support: Upload documents for AI analysis
- Voice Input: Speak your prompts
- Model Switching: Easily switch between different AI models
- Chat History: All conversations saved locally
- Admin Controls: Manage users, restrict features, whitelist models
Step 3: Installing Stable Diffusion for Image Generation
Take your local AI server to the next level with AI image generation using Stable Diffusion and Automatic1111.
Install Prerequisites:
bash1
Install Pyenv (Python Version Manager):
bash1
Add to your .bashrc:
bash123
Refresh your terminal:
bash1
Install Python 3.10:
bash12
Install Automatic1111:
bash12345
Access at http://localhost:7860
Integrate with Open WebUI:
In Open WebUI settings:
- Go to Settings → Images
- Set Automatic1111 Base URL:
http://127.0.0.1:7860 - Enable “Image Generation (Experimental)”
- Save
Now you can generate images directly from your chat interface!

Advanced Features: Custom Models and Parental Controls
One of the most powerful aspects of running a local AI server is complete customization. Here’s how to create restricted models perfect for children or specific use cases.
Creating Custom Model Files:
- In Open WebUI, go to Models → Create Model File
- Define your base model and system prompt:
12345678910
- Save and whitelist for specific users
User Management:
- Disable public signups or require admin approval
- Whitelist specific models per user
- Prevent chat deletion for monitoring
- Create multiple user accounts with different permission levels
This is perfect for parents who want AI homework help without enabling cheating.

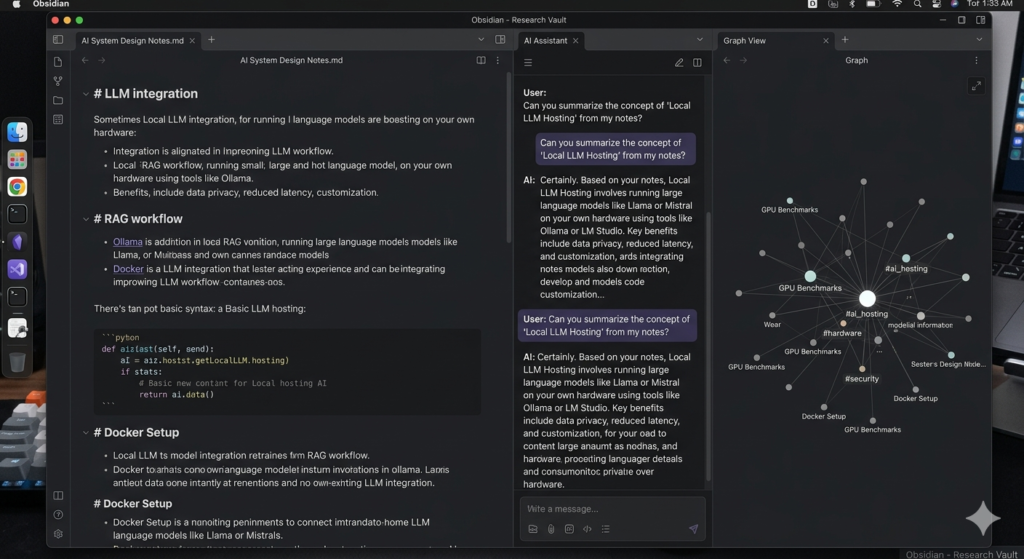
Integration with Obsidian: AI-Powered Note-Taking
For knowledge workers, integrating your local AI server with Obsidian creates a powerful second brain.
Setup:
- Install the “BMO Chatbot” community plugin in Obsidian
- Configure connection to
http://localhost:11434 - Select your preferred model
- Enable reference mode to chat with your notes
Now you can:
- Ask questions about your notes
- Generate content based on existing research
- Summarize long documents
- Brainstorm ideas with context-aware AI
Performance Optimization Tips
Maximize your local AI server’s performance:
- Use GPU Acceleration: Ensure CUDA drivers are installed for NVIDIA GPUs
- Monitor Resources: Use
nvidia-smito watch GPU utilization - Choose Appropriate Models: Smaller models (7B-13B) run faster; larger models (70B+) need more VRAM
- Quantization: Use quantized models (q4, q8) for better performance with minimal quality loss
- Dual GPU Setup: Ollama can utilize multiple GPUs simultaneously for massive speed boosts
Privacy and Security Benefits
Running AI locally means:
- Zero data leaves your network
- No corporate surveillance
- Complete audit trail
- Customizable content filters
- Compliance with data regulations
This is crucial for businesses handling sensitive information, healthcare applications, legal work, or anyone who values digital privacy.
Conclusion: Your Private AI Future
Building a local AI server might seem complex, but the rewards are immense. You get:
- Faster performance than any cloud service
- Complete privacy and control
- Customizable features for your specific needs
- No recurring costs
- The satisfaction of running cutting-edge AI on your own hardware
Whether you’re building “Terry” with dual RTX 4090s or starting with an old laptop, the journey to private, local AI is accessible to everyone. The technology is mature, the community is supportive, and the possibilities are endless.
Ready to start? Begin with Ollama today, and you’ll be chatting with your own AI assistant within the hour. Your future self—concerned about privacy, tired of slow cloud services, and excited about AI possibilities—will thank you.

Want to dive deeper? Join communities discussing local AI, experiment with different models, and share your builds. The local AI revolution is here, and it’s running on hardware just like yours.
Have questions about building your local AI server? Drop them in the comments below!
Leave a Reply